
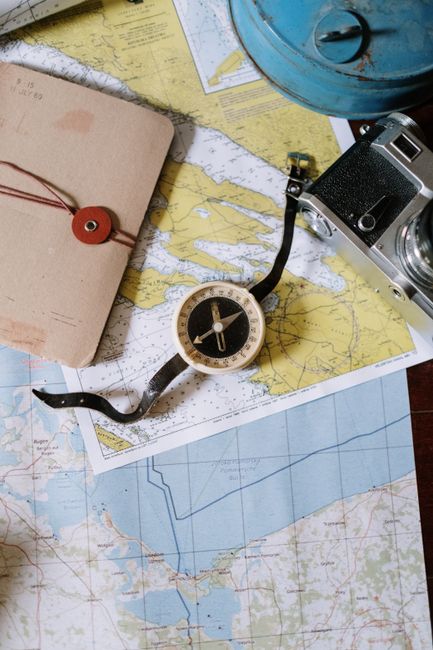
A tidy campsite setup with a map, notebook, and camping gear laid out on a picnic table at golden hour
Trip Setup

Plan the Trip Before You Pack: Keep Every Camping Trip Organized in One Place

A simple, practical system for keeping dates, destinations, reservations, and packing progress together so you can spend less time searching and more time enjoying camp.

6 min read

All your trips in one place, so nothing slips through the cracks

Most camping stress does not come from the outdoors. It comes from the pre-trip scramble: Where is the reservation email? What day are we leaving? Did we already pack the stove? Which cooler is going, and who is bringing firewood?

The fix is not a longer checklist. It is a clearer home base: one spot that holds your trip dates, destination details, and packing progress together so you can see the whole plan at a glance.

Below is a simple, repeatable system you can use for weekend campouts, road-trip loops, or a full season of getaways. If you use CampMate, its Trip planner is built for exactly this workflow: plan the trip before you pack, then track packing progress without bouncing between notes, texts, and tabs.

    Quick mindset shift

    Treat each camping trip like a small project: define the dates and destination first, then build the packing list to match the plan.

    Step 1: Anchor the trip with dates, destination, and a simple goal

    Before you think about gear, lock in the basics. These three details drive almost every packing decision: when you are going, where you are going, and what kind of trip it is.

    Write down your trip anchor info in one place so you can reference it quickly when questions pop up.

    • Dates and timeline: departure time, first night, last morning, drive time
    • Destination specifics: campground name, site number, check-in rules, quiet hours
    • Trip style: car camping, tent camping, RV, hike-in, or a mix
    • Primary goal: relax, fish, hike, cook big meals, or keep it simple

    Make the goal do the filtering

    If the goal is “easy meals and early hikes,” you probably do not need the full kitchen bin or extra camp furniture.

    Step 2: Create a one-page trip brief (the stuff you always search for)

    A trip brief is a short reference page for the details you do not want to hunt for on travel day. It is not fancy. It is just organized.

    Keep it tight: only include information you might need quickly at home, on the road, or at camp.

    • Reservation confirmation number and booking name
    • Campground address or GPS pin and the best route in
    • Check-in and check-out times
    • Fire rules and fuel availability (firewood on-site, local restrictions, etc.)
    • Water situation (spigot, potable water, bring your own)
    • Power and amenities (table, bear box, showers, dump station)
    • Nearby backup options: a second campground, a grocery stop, a fuel stop

    Keep a “last stop” note

    Add one line for your last grocery and fuel stop before camp. It is one of the easiest ways to avoid expensive, limited camp-store runs.

    Step 3: Pack from the plan, not from memory

    Once the trip anchor and brief are set, your packing list becomes easier: it is simply a response to the plan. The key is to connect packing to the trip itself, so you can see what is packed for which outing.

    Organize your list by zones (sleep, kitchen, clothing, tools, comfort) and add quantities where it matters. Then track packing progress as you go, so you do not second-guess yourself at midnight.

    • Sleep: tent, stakes, groundsheet, sleeping bags, pads, pillows
    • Kitchen: stove, fuel, lighter, pot, mug, sponge, trash bags
    • Food plan: dinners, breakfasts, snacks, cooler items, water
    • Clothing: base layers, warm layer, rain layer, camp shoes
    • Site kit: headlamps, lantern, batteries, tarp, cord, duct tape
    • Comfort: chairs, hammock, book, games

    Use “pack stages” to avoid pile chaos

    Stage items in three buckets: “pull from storage,” “buy/replace,” and “already in the car.” Then check them off as they move.

    Step 4: Manage multiple trips without mixing details

    If you camp more than once a season, the biggest organization problem is cross-contamination: a note meant for one campground ends up applied to another, or a packing list gets reused without updating dates and needs.

    A simple fix is to keep each trip separate while still viewing them together on a calendar or list. That way, you can see what is next, what is booked, and what still needs to be packed.

    CampMate’s Trip planner is designed for this: keep every trip organized in one place with dates, destination, and packing progress at a glance. It is especially handy when you have a quick overnight coming up right after a longer weekend trip and you want to reuse what worked without copying confusion.

    • Keep one trip brief per trip, even if the destination repeats
    • Duplicate a proven packing list, then adjust for the new dates and goal
    • Add a short “notes for next time” line after each trip (what you forgot, what you did not use)

    End-of-trip reset

    Before you unpack everything, mark what needs restocking (fuel, soap, batteries). Your next trip will feel like a head start.

    A quick pre-departure check that takes five minutes

    On the day you leave, you do not need to reread every note. You just need a fast confirmation pass. This is where having everything in one place pays off.

    Run this short check, then go enjoy the drive.

    • Confirm dates and check-in time
    • Open the trip brief: reservation number, site number, route
    • Scan packing progress: the big three (sleep, kitchen, water)
    • Confirm food plan and cooler items
    • Verify weather basics (temperature swing, rain chance) and adjust layers

    The “big three” sanity check

    If you have sleep, a way to cook or eat, and enough water, you are 90 percent of the way to a good camp.

    Continue the journey

    Keep your next camping trip organized from plan to packed

    Use CampMate’s Trip planner to store trip dates and destination details, then track packing progress in the same place so you can see what’s ready at a glance.

    Related Articles

    Continue exploring camping tips and packing guides